")
")
Perfectly balanced: quick guide on how to choose the perfect number and the perfect kind of photos to use in your personal branding visual storytelling without going crazy
Interior day. The afternoon light enters through the window and rests on the table where chaos reigns supreme among diaries, notebooks, newspaper clippings scattered everywhere.
On your PC, dozens and dozens of tabs open in your browser, including inspirational pages and Pinterest boards, competitor websites, Google searches that no longer make sense.
In front of this chaos there is you, who has been banging your head on the table for ten minutes now in total confusion and you feel like a juggler walking on a tightrope and about to make all the balls spinning above his head fall.
Ok, maybe I got a little carried away in this introduction, but it is true that understanding how many and which photos are useful and necessary for a personal branding photo-shoot is neither a trivial topic nor an aspect to be underestimated. There’s a subtle balance that marks the difference from what’s exactly right and what could make your visual storytelling not efficient enough and this is one of the pillars where you can start to build your own visual storytelling.
How many photos do I need?
The first question you need to answer is: how many photos do I need to take away from a personal branding photoshoot? My answer for you is: about ten final photos for a standard photoshoot are more than okay.
As a matter of fact, ten is a sufficiently large number that will allow you you to have a certain variety of photographs in order to build a visual storytelling, without running into the risk of creating useless duplicates or creating images that will not truly go along with your visual storytelling.
It goes without saying that this is a ballpark figure from which you can simply start to build your storytelling and that could be adapted to a number of different use cases: all the particular and specific needs of each brand must in any case be discussed during the preparation phase before the photoshoot.
But if your head is still spinning, this is a good place to start.
Where will I put my photographs to use?
Now the other thing to do is decide what to do with these photos: where will I use the photographs I created?
Usually this type of photo shoot has its main purpose in creating images to be used on your website, whether it is a site you are creating from scratch for the first time or if you need to update your already existing website. Quick but essential clarification needed here: this question is obviously intertwined with the previous one, so the answers of those questions will also be. Keep that in mind.
Also you will use these new shining photographs to update your profile picture on every social platform you’re using like Instagram, LinkedIn or Facebook and don’t forget to also update the profile pic on the instant messaging apps like Telegram and WhatsApp. You cannot continue using a picture from your wedding day and you cannot even use the photo of your pet, doesn’t matter how super cute they are.
Consistency and cohesion must always be the watchwords that will guide you in the creation and use of your brand new and shiny personal branding photographs.
What photos do I need?
Ok, now is the time to actually choose the type of photographs to include in your visual storytelling.
Every photographs will play its own specific role and I’ll leave you with a super simple, but extremely effective guide you can draw inspiration from.
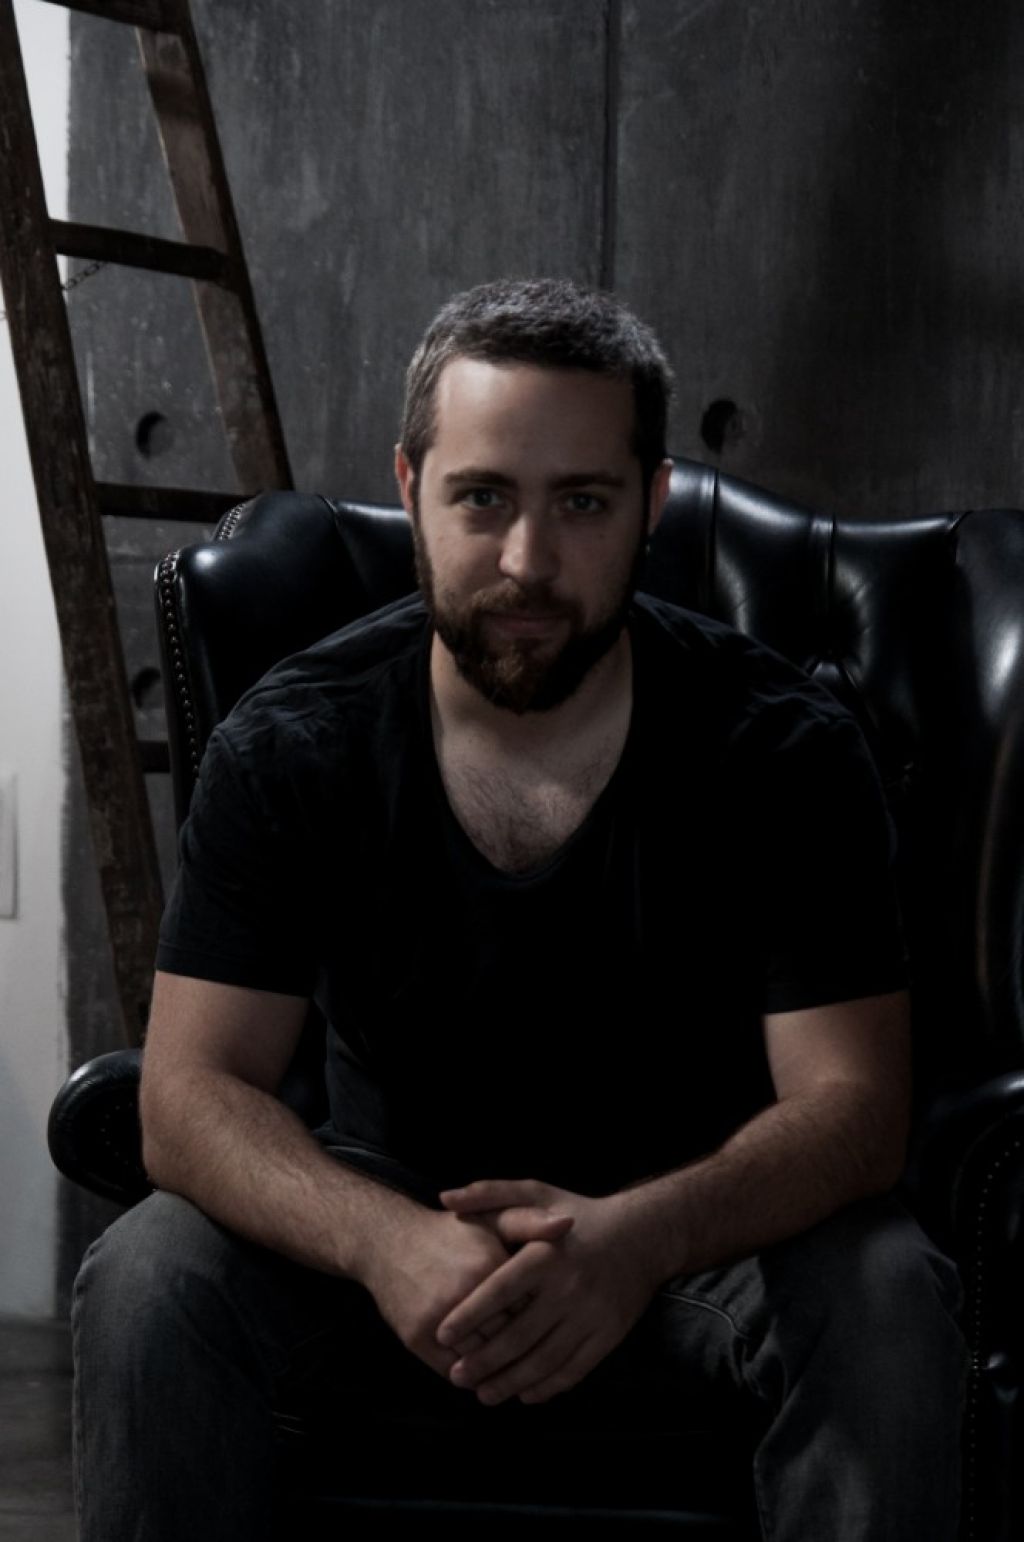
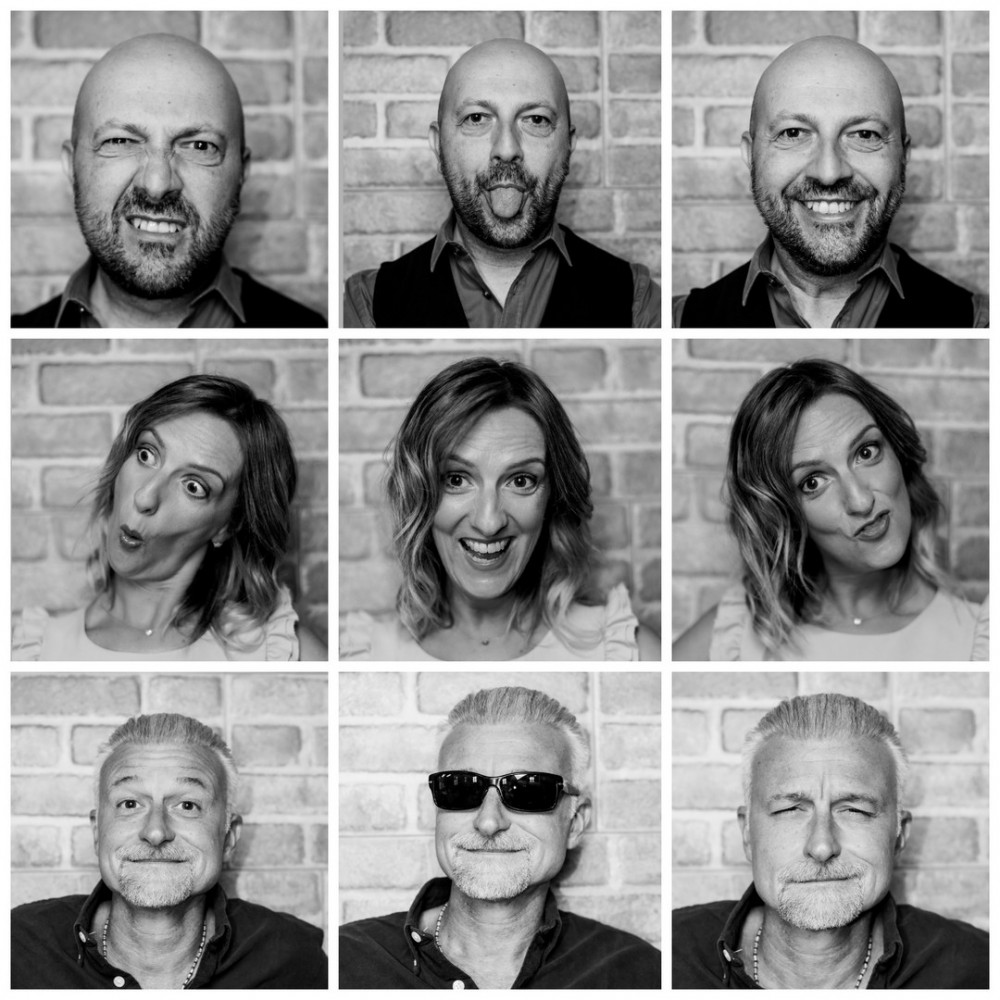
Portraits
You will need to take 2 or 3 portraits.
First of all you will need to take a profile picture with all its fundamental characteristics: face clearly visible in the foreground, neutral background and a generally clear and not too contrasty lighting so that your face is easily recognizable even when the photo has to be the size of a postage stamp, that’s typical for all the profile pics on social media.
As for the other photos you’ll need in this category, you can feel free to add more creativity, you can widen the shot, use less of a static pose and be more artistic when it comes to the lighting of the image. These kind of pictures are perfect to be used in the “about me” section of your website, where you can have a higher image resolution to work with and where you can show more your personality.


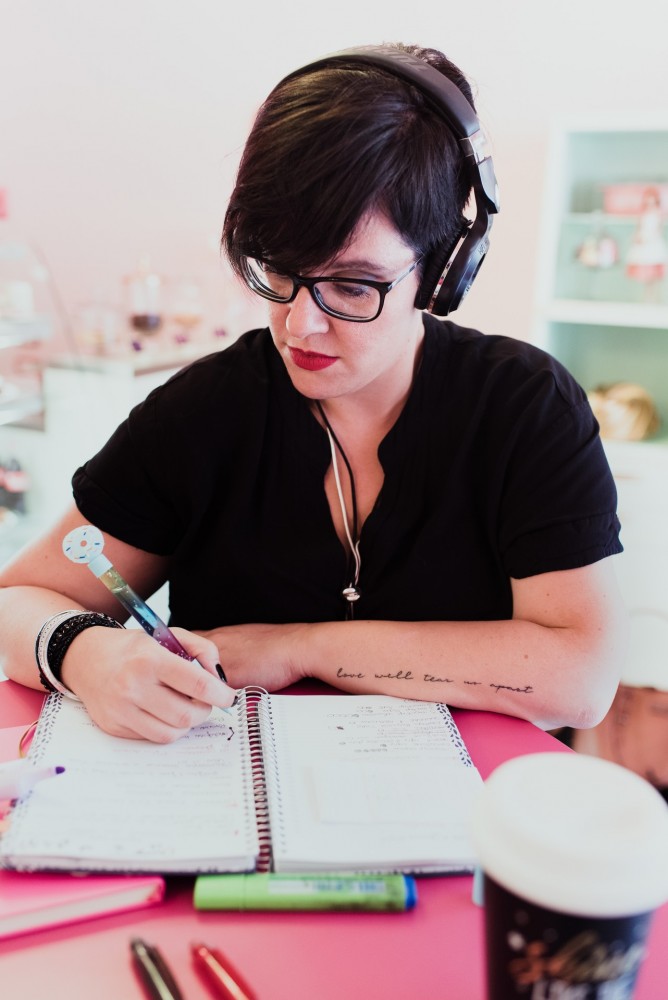
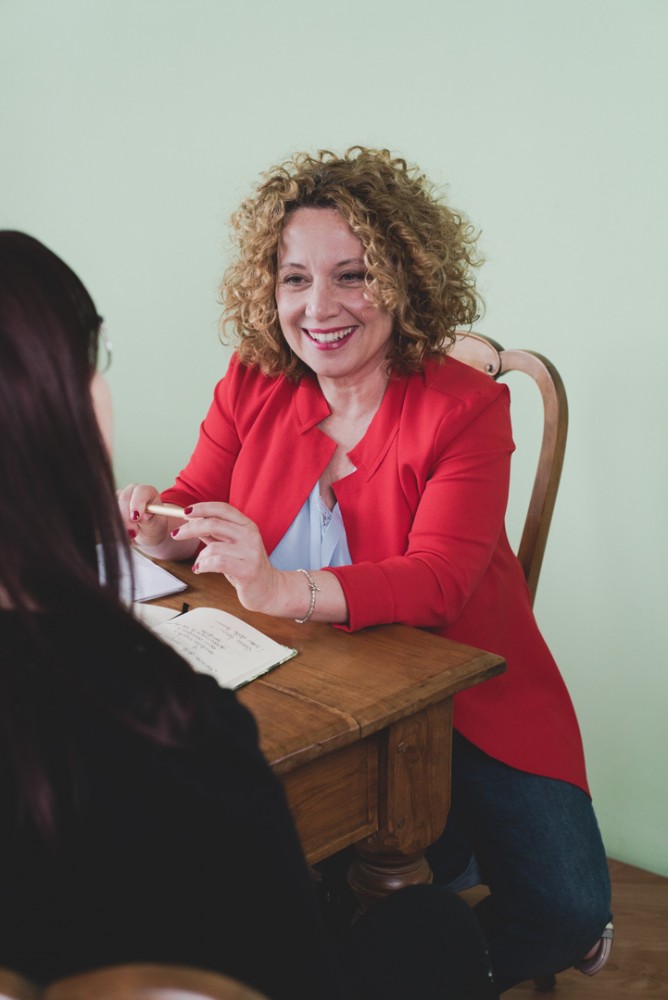
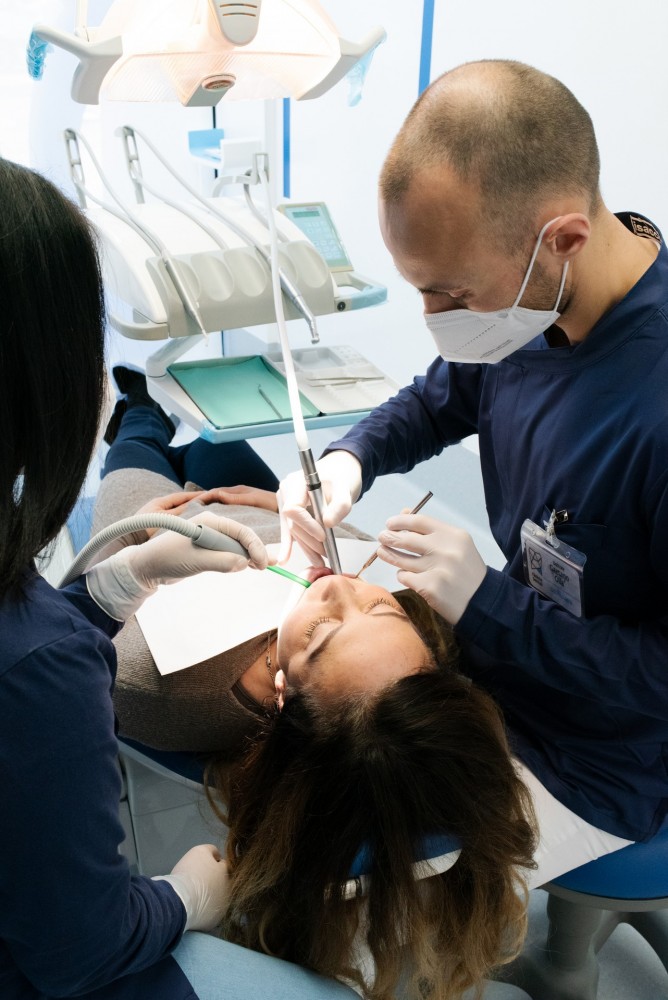
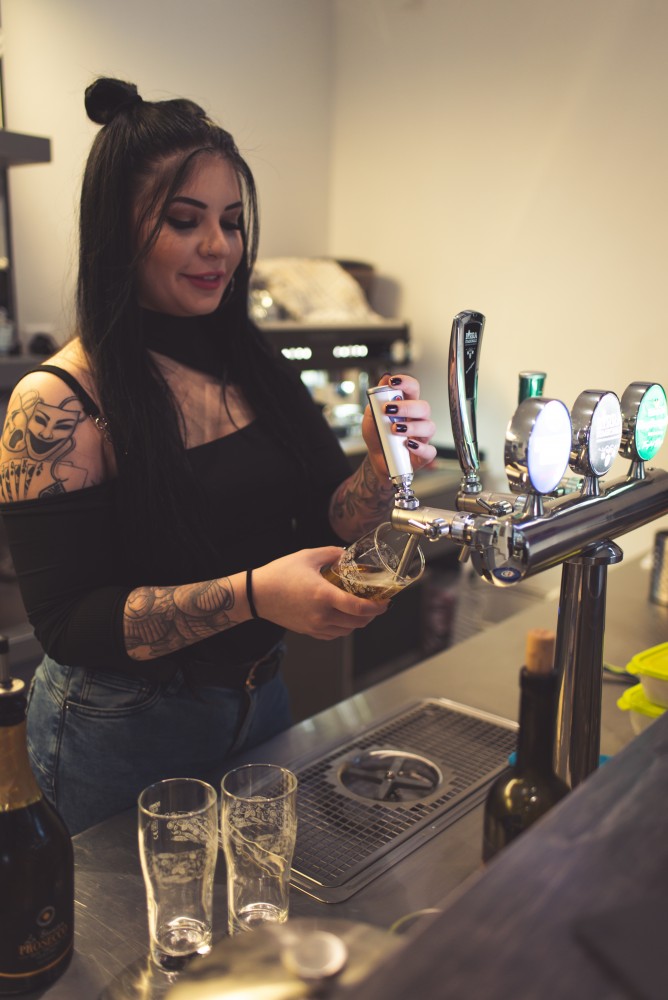
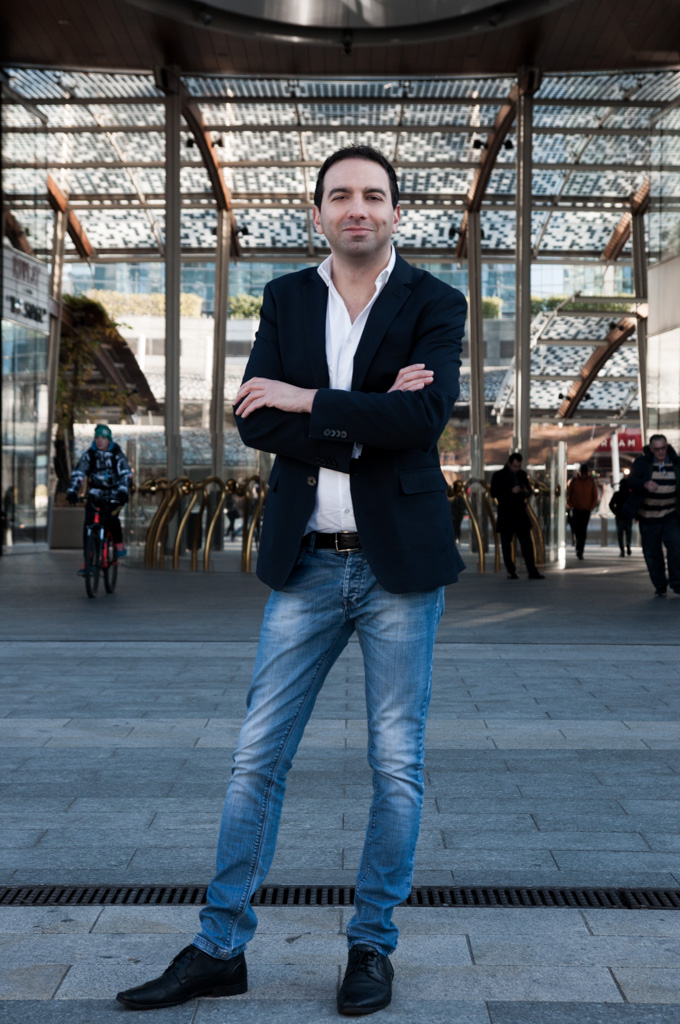
"In action" photographs
These are the photos that show you in the middle of the action, right as you work. Again, plan for at least 2 or 3 shots of this type. A couple of examples? If you are an artisan the perfect “in action” shots are the one depicting you while you are busy in your workshop creating your products. Take the opportunity to show a particularly significant part of your production process and of your manual skills with these shots.
On the other hand, if you offer a service instead, you’ll set these pictures while working on your laptop maybe preparing a presentation about something particularly interesting about your work. Here too you can always insert distinctive details that can communicate something important about you and your work in an indirect and non-obvious way: a particular book placed near you in the frame, objects that recall the colors of your brand and so on. The possibilities are practically endless.
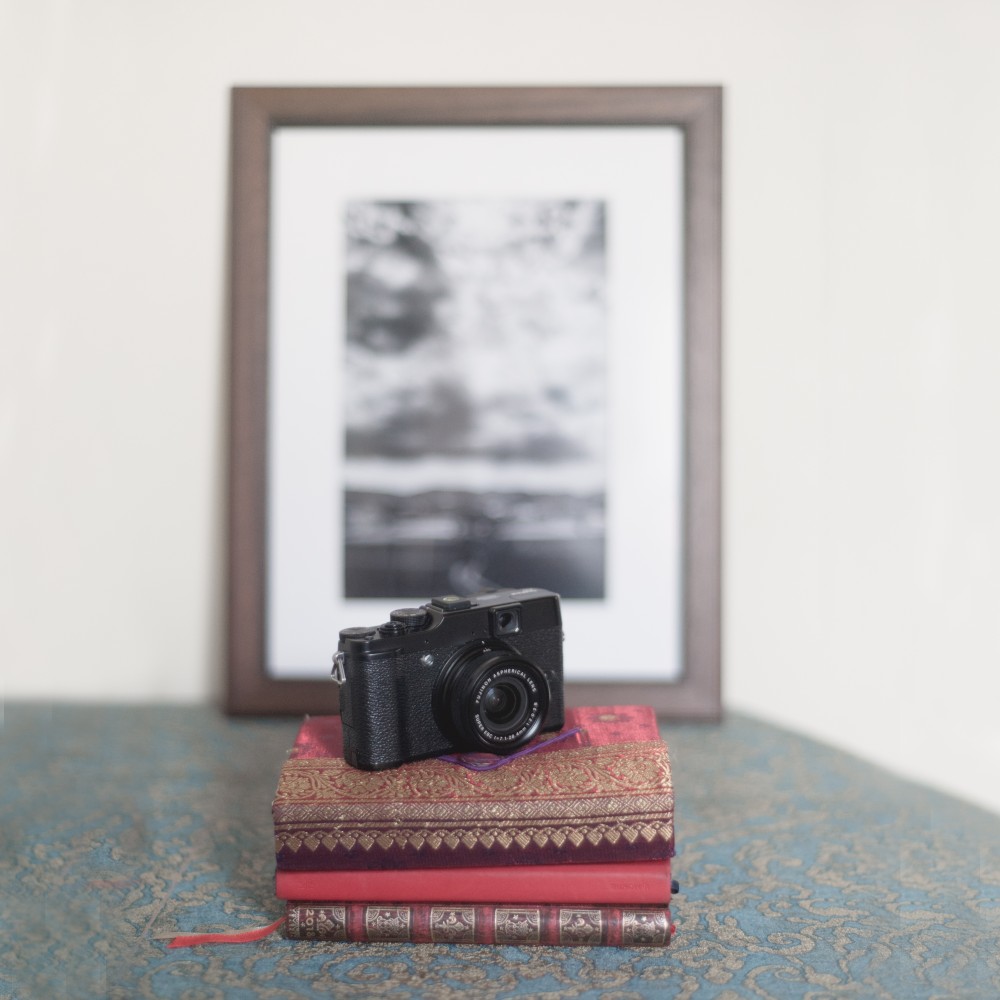
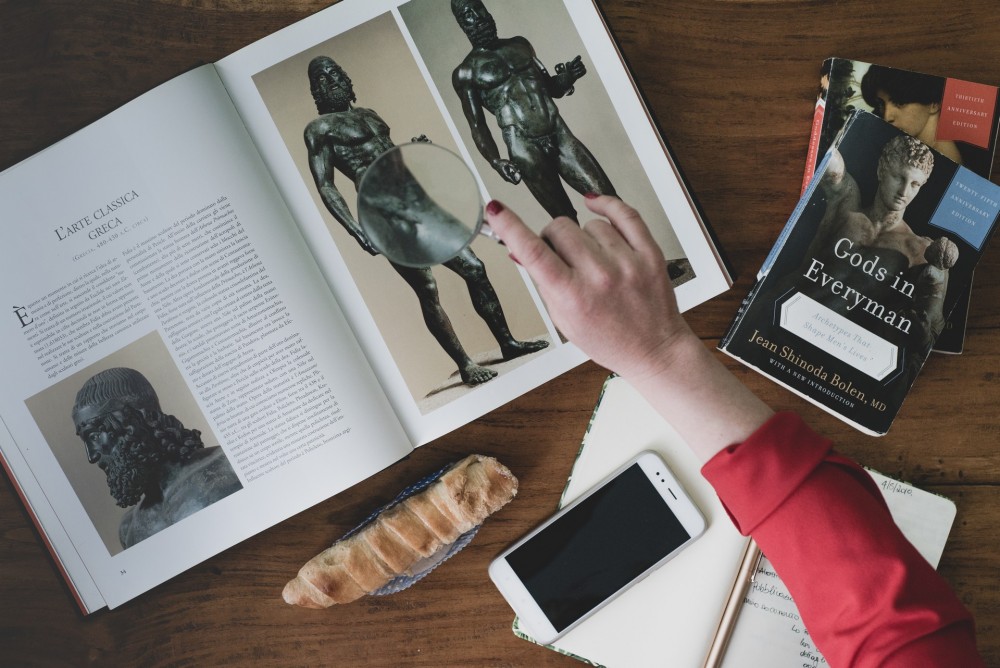
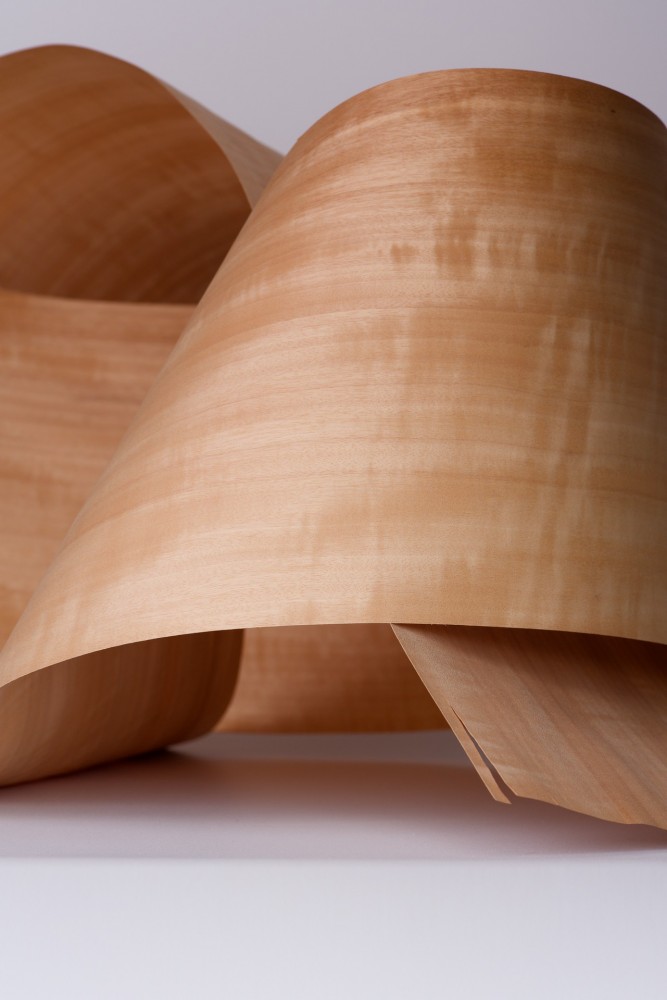
Themed photographs
They represent the most creative photographs of the entire photo shoot. You will need 3 or 4 of them.
They can be both still life images or photographs where once again you are the subject, there is no fixed rule to follow. These images will have a more iconographic feel to them and every detail is specifically studied in order to convey an idea, or even better a peculiar feeling the viewer should feel when thinking of your brand.
From a purely practical point of view, these are the perfect photographs to use as a cover or header to divide and punctuate the different sections of your site or to be representative of a specific product or type of service you offer.
They are very powerful images within your visual storytelling, but most of all they are the most fun to plan and to take.

Ok at this point your situation should be very different from where you started. Have desperation and confusion given way to a more focused and clear plan? Were you able to outline more easily what to include within your visual storytelling? If you would like to delve more into the topic or if you need some more targeted advice let's chat about it on my LinkedIn profile. I'll meet you there.